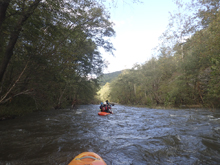
Pigeon River (Dries Pre-Helene)
| Stretch: | Harmon Den to Big Creek |
| Difficulty: | Class IV to V |
| Distance: | 7.2 miles |
| Flows: | 400 cfs to ~2,000 cfs. Look for the Pigeon below Big Creek to be over 3,500 cfs. American Whitewater's gauge. |
| Gradient: | 63.3 fpm average (max of 117.8 fpm for 1.8 miles) |
| Put-in: | Low Bridge at Harmen Den |
| Take-out: | Big Creek / Pigeon River Confluence |
| Shuttle: | 9.1 miles (15 minutes) |
| Season: | When a really heavy rain hits. Whenever that might be. |
| Written: | © 2015 |
| Featured in A Wet State #106, A Wet State #150, and in A Wet State's contribution to World Kayak's Video Guide | |
One of the first times I drove from Knoxville to the Green in Asheville, a friend pointed out of the window as we drove up the Pigeon and said "there is a great run in there, too bad it never has water." A few months later, I was having a conversation with two friends about California whitewater, one of my friends is thinking about heading West for a vacation and wanted to know what river was most like the class IV/V rivers in California... my second friends answer, Pigeon Dries." Label me intrigued.
My parents seem to have amazingly bad timing for visiting us here in Knoxville. Last spring they stayed for the biggest two weeks of rain, resulting in me missing the whole storm. Now this Fall as Joaquin churned off the coast, my parents arrived as the rain started and left the day after it ended. Meaning once again I was left with nothing. Until I saw on facebook some folks interested in the Dries the following day and thought maybe I could squeak out one day of boating from the storm. As the evening came, reports came that it was already dropping from Richter high to perfect flow. As the gauge dropped further overnight, our dawn patrol lap was scrapped. Normally you need 3,500 cfs on the gauge for it to be a possibility to run. It was now at 3,100. To our surprise, an hour later Kirk Eddlemen drove by and reported it a perfect flow. It was now too late for me to do a morning lap so a new plan was made for an after work lap.
Arriving, I am glad that I didn't check the gauge again after leaving the house. It was right around that time that it plummeted to ~2,000 cfs... meaning that there was no chance (in common times) that the Dries would have water. What we didn't know however was that the Powerhouse was only operating at half capacity. Because of this, although the water had dropped through the day from 1,200 cfs in the Dries to ~500 cfs, we still had water. Enough for a fun day for sure. At this flow it wasn't that ultra-classic section of whitewater that is described in the guide books and in the conversations I had had. But it was still very fun, class IV to IV+ river running, and still very worth the time. And now, I am more intrigued to find out what it is like when it has a full fluffy flow. Next time hopefully ?.
Update 2015: So lucky me, a few weeks after I got on the Dries at the lower flow, all three generators went out for repair and the entire gauged flow was running through the Pigeon. Meaning it had great flow for a few weeks. I am sure you could tell at ~500 cfs I did not buy into the hype of the run, fun yes... but classic no. However at 1,200 cfs, I completely get the hype. This run took Diane, David Maurier and me back to our weekends spent on 49 to Bridge in California. Big and powerful rapids pushed you around, deep holes needed to be boofed, and an unrelenting pace provided a no-holds barred experience. For a more local comparison, I would say that it felt like Russell Fork at 1,400... but less pools between the hard sets and more mandatory holes to go through. Also, No Where to Land and Chinese Arithmetic are harder than anything on Russell Fork. But man, it is so much fun! Too bad I didn't bring a camera with me to take any pics!
2024 Note: This write-up is from pre-Helene. The reports are of drastic changes. I will try to get updates as they become available.
Mi 0.0: Mi 2.5:
- Picks Up (III). Action picks up after a big left bend in the river. The first few are nice small ramps through fun wave trains.
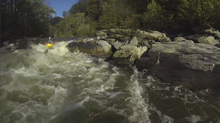

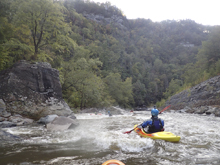
Right Bend (IV to IV+). As the river bends back to the right the river splits and enters a tight boulder constriction. We entered far right (right side of the island) and exited far left in that channel. Higher Water Update: At 1,200 there is a great line on the left channel boofing over a series of ledges. The last of which was far left and maybe 8 feet tall and landed in a rather large hole to keep you honest. This became one of my favorite rapids on the run!


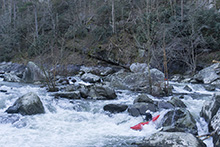

Boogie (III to IV). A fun section of rapids full of boofs and smaller moves to make. If it looks clean it likely is.
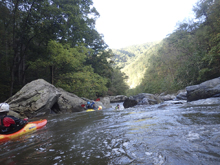


- S-Turn AKA Baby Towers AKA Twin Towers (IV to IV+). The first of the bigger rapids this rapid is run differently based on flows. You can boof in far left and exit far left. Or for a more entertaining line you can enter far right and s-turn into the middle channel leading to a boof over the middle hole. Higher Water Update: Even at higher water the center line still goes, but the hole in the middle is large. If you run the far left line make sure you enter as far left against the shore as you can as there is a sneaky pocket just next to it on the right.

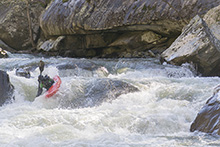
Entrance to Nowhere to Land (IV to IV+). I can imagine at higher flow this section is fun and busy. At the low flow it was fun but significantly slower. Just be aware to catch an eddy at the lip on the right before dropping down into Nowhere to Land proper. For this rapid, just follow the bulk of the water, moving left to right and then back left. This then leads to a ledge that we boofed far right. Higher Water Update: Several lines to be had, the most straight forward involve staying far right throughout all the entry ledges. They are worth scouting if you haven't been in there at high water, as several are sticky, but boat surprisingly well. There are also heor boofs over the middle of the holes for those who are willing.


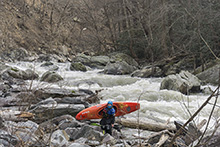
- Nowhere to Land (V- to V). This rapid is congested at low flow and powerful and rowdy at higher flow. Take note of the undercut/sieve combo at the lip of the final drop on the left. We entered left of center and ran a seam down past the rocky right side before using a laterally to move back right away from the sieve and over the bottom ledge. Higher Water Update: We ran the exact same line with great success.

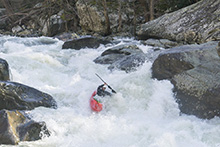
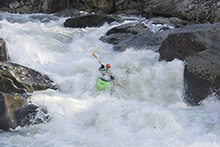
In Between (IV to IV+). Two or three nice in-between boogie rapids keep you occupied down to the next big rapid.


- Chinese Arithmetic (IV+ to V). There is an eddy at the lip on the right that you can see down the gun and realize you are here. The scout is from river left though from a big eddy. Be careful as this rapid has collected wood before. And at different flows different lines open up. At low flow, we entered right and moved far left exiting through the cushion hole on the far left at the bottom. This moved us directly above a large sieve/pin spot in the middle near the bottom. With more water, you can exit far right. With high water you want to exit far left again. Eitherway, be careful of the slide into a hole just above the sieve/pin spot in the middle as the hole can push you off line. Higher Water Update: 1,200 cfs made the right exit look no good, I guess that line is a medium flow line. However at 1,200 the main entry slot develops a powerful hole so be careful as you don't want to start things off wrong in this rapid. If you want to skip the main entry slot you can sneak down the far right (new channel opens up) and then ferry back to the hard left just below to exit down the left. Note though that you want to hit the first of the two bottom holes a bit further right and let it move you right around the second hole as the second hole is a doozy and causes lots of swims at this level. I thought at 1,200 this rapid was the hardest of the run, though maybe No Where to Land is more intimidating.
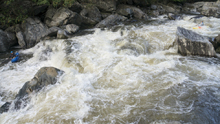

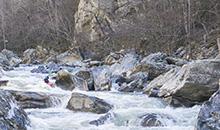
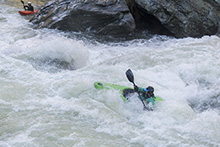
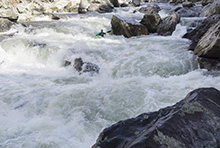
- Boogie (III to IV+). The "hard section" of the run is over, though there is still some fun class III and IV- left. Higher Water Update: OK, at higher water there is still plenty of class IV left. And I would even say a few that are class IV+. Right below Chinese Arithmetic there is a weird folding seam rapid with several roles that then turns down a ramp into another hole and exits over a small poor over. Keep on your toes, after about a mile there is a riverwide hole, at lower flows you can run middle, medium flows on the right, and above that, hit the auto boof just off the left shore. Immediately downstream, the river splits into two large channels on either side of a large center rock, the left has several stout holes all lined up and offset, the right is a bit easier but also has a powerful hole. All around, it is surprising how much more powerful this run got!

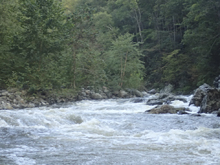
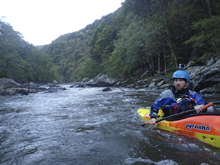
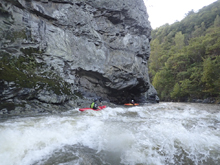
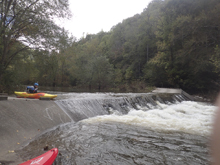
- Big Wall (III- to III+). As the river comes along a very large wall on your left, boof the ledge far left, at higher flows the hole center and right side of the river is a large hole. This then runs out along the wall. Below, the river eases off completely and the final mile is a mellow paddle out.
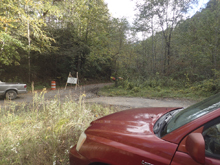
Take-out: From Knoxville take Highway 40 towards Asheville. Take the last exit before crossing into North Carolina, exit 451 toward Waterville Rd. Turn right onto Waterville and stay left to follow it up the Pigeon River. At the confluence with Big Creek there is a large rafting access.
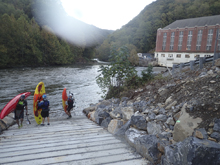
Put-in: Go back to highway 40, and continue heading East towards Asheville. After 7.5 miles take exit 7 for Harmon Den. Continue up along the river for a quarter mile to the parking area near the low bridge. Put in at the low bridge.
HTML Comment Box is loading comments...

